The Ultimate Spring HVAC Maintenance Checklist for Homeowners
Nothing is more stressful than turning on your air conditioning on the first 90-degree day of summer, only to hear a sickening buzz followed by hot air blowing out of your vents.
Every summer across Kansas City and Tampa Bay, hundreds of homeowners suffer avoidable AC breakdowns during the hottest weeks of July. In my 20+ years of mechanical trade experience, over 80% of summer emergency service calls could have been prevented with 30 minutes of spring maintenance.
Before the sweltering heat arrives, follow this professional step-by-step HVAC readiness checklist.
Step 1: Clean the Outdoor Condenser Coil
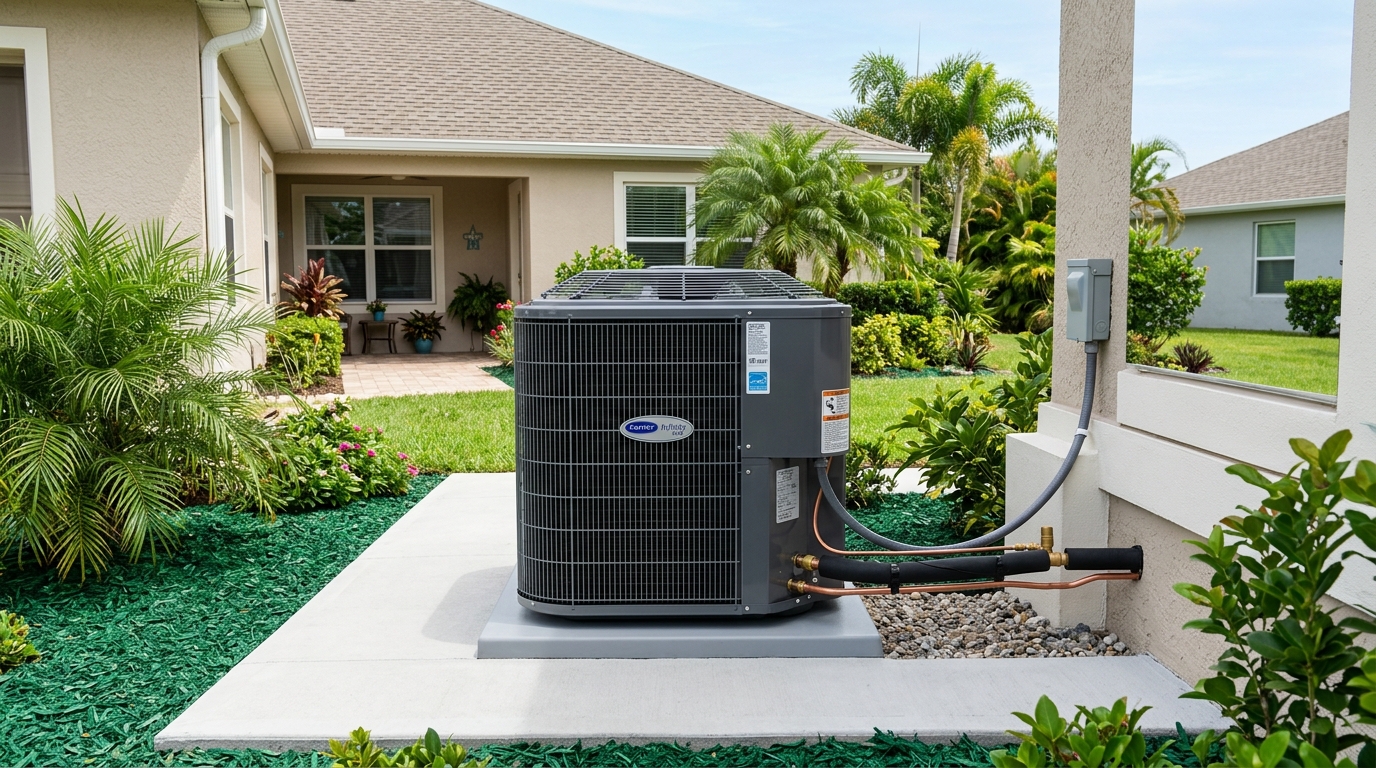
Throughout autumn and winter, your outdoor unit accumulates grass clippings, dried leaves, mud, and cottonwood fuzz. When these debris plug the aluminum fins, heat cannot escape from the refrigerant, causing high head pressure that overheats the compressor.
How to do it safely:
- Switch off the outdoor electrical disconnect box (located on the wall next to the unit).
- Clear all landscape growth, shrubs, and mulch within at least 18 inches around the perimeter.
- Using a standard garden hose with a spray nozzle (never a high-pressure power washer, which bends delicate aluminum fins), spray the fins from the top down at a 45-degree angle to rinse out dirt and pet hair.
Step 2: Flush and Clear the Condensate Drain Line
During high-humidity summer days, a residential air conditioner wrings 5 to 15 gallons of water out of your indoor air every single day. That water flows through a 3/4-inch PVC drain pipe to the outdoors or into a floor drain.
In warm environments, algae, bacteria slime, and dust combine inside this pipe to form a gelatinous clog. If the pipe backs up:
- The overflow can ruin ceilings, drywall, and hardwood flooring.
- Modern air handlers have a safety float switch that automatically cuts power to your AC system when water backs up in the drain pan.
DIY Prevention: Locate the T-pipe access port on your indoor air handler. Pour 1/2 cup of distilled white vinegar down the drain line once a month during cooling season. Vinegar dissolves algae growth naturally without eating away at plastic fittings or PVC glue.
Step 3: Inspect Your Air Filters
Replace or clean your air filter before firing up the cooling cycle. A choked filter reduces CFM airflow across the indoor evaporator coil. With inadequate airflow, the refrigerant cannot absorb enough heat, dropping the coil temperature below 32°F and turning your indoor unit into a solid block of ice.
Step 4: Check the Outdoor Fan Motor & Fan Blades
With power disconnected at the outdoor box:
- Peer down through the fan grill. Are there tree twigs jammed in the fan blades?
- Spin the fan blade gently by hand. It should glide freely with no resistance, grinding noise, or wobble. If it feels stiff or grates, the motor bearings are drying out and require replacement.
Step 5: Test the Cooling Cycle Early (The 15-Minute Test)
Don’t wait until a 95°F Saturday afternoon to test your system for the first time. On a mild 75°F afternoon in May:
- Set your thermostat to “COOL” and dial it 3 degrees below room temperature.
- Verify that the outdoor compressor and fan kick on smoothly without loud screeching or clicking.
- Wait 15 minutes for pressures to stabilize, then hold a digital meat thermometer into the air supply register closest to the unit, and compare it to the return air grille.
- You should see a Delta-T (temperature split) between 15°F and 20°F. For example, if your return air is 74°F, the supply air blowing from the vent should measure between 54°F and 59°F.
If your temperature split is less than 12°F, you may have low refrigerant charge, dirty coils, or a failing metering device.
When to Call a Licensed Professional
While DIY homeowners can clean exterior leaves and flush vinegar down drain lines, electrical and refrigerant diagnostics require certified trade tools:
- Testing run capacitors for microfarad (µF) tolerance.
- Measuring compressor amp draw under full load.
- Testing subcooling and superheat with digital refrigerant gauges.
- Checking contactor points for electrical pitting and insect infestation.
Schedule a professional comprehensive tune-up with All About Comfort: (816) 847-5557 in Missouri or (813) 544-0091 in Florida.
About James Henton
James Henton is the founder and master technician behind All About Comfort Heating & Cooling LLC. With over 20 years of hands-on mechanical trade experience across both four-season Midwest freezes and intense subtropical Florida climates, James specializes in honest diagnostic troubleshooting and high-efficiency inverter heat pump engineering.
Have Questions About Your Heating or Cooling System?
Get straightforward trade advice from James directly. Zero sales tactics, zero pressure.
20+ Years Mastery
Founded 2011 by James Henton
BBB A+ Accredited
Zero-pressure honesty & integrity
SEER2 High Efficiency
Arcoaire inverter heat pumps
Certified & Licensed
FL CAC1824474 • MO Master
Schedule Repair or Request a Free Estimate
Need fast diagnostic repair on a struggling unit, or an upfront estimate on a new installation or replacement? Get honest, zero-pressure service directly from our certified technicians.